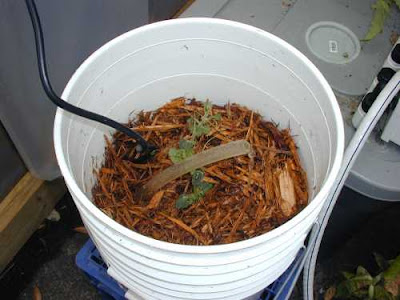
I cleaned out one of the 5-gallon containers to convert it to a self-contained hydroponic system. If you view the original photos here, you can get an idea of what I am about to describe.
I removed the one-inch filler tube and passed the power cord of a tiny submersible hobby pump up through the hole. To the outlet of the pump, I attached a length of 3/8″ ID vinyl tubing, which was also directed up through the hole alongside the power cord. The wick cup remained in place to function as it had originally, in case of pump or power failure. Cypress mulch was then used to fill the container to within about 3″ of the top. The top bucket was then inserted into the bottom bucket. Water was added from the top until the bottom bucket overflowed from the original overflow hole. The bottom bucket was then emptied to dispose of the fine debris that rinsed out of the cypress mulch. The bottom bucket was then filled with one gallon of clean water, and appropriate nutrient added. The system was then re-assembled and the pump powered on. Adjustment of flow rate is accomplished by rotating the vinyl tube, which results in the turning the outlet of the pump which has a variable flow restrictor.
The pump is a ZooMed MicroPump 104, designed for reptile tanks or the like, and available for under $15 usually. Its rated flow is adjustable from 35-70gph, which translates to about .5-1gpm. I also like the fact that it can run dry without damage.
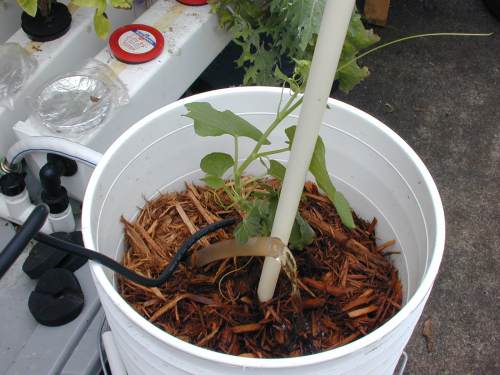
I planted an already-sprouted mirliton– aka vegetable pear or chayote squash– someone gave me to see how it would do. You can see it here.
I came to realize, after a few hours operation, that more particles found their way to the pump intake, slowing it considerably. An aquarium filter pad, about 4″ by 6″, wrapped around the pump and secured by a rubber band provided a solution.